I’m not cooking Thanksgiving dinner this year; my sister is hosting at her new home in Connecticut and I’m really excited to be a guest! As much as I love to entertain, it’s nice to be on the other side. Thanksgiving is the ultimate culinary balancing act, and although I always learn something about myself in the process, I’m looking forward to a different vantage point, one that lets me enjoy the rhythm of the day and invites me to go with the flow. I’ll have time to play with my niece and nephew, help my sister bake the pies, and watch the Thanksgiving Day parade!
20 Nov 2014
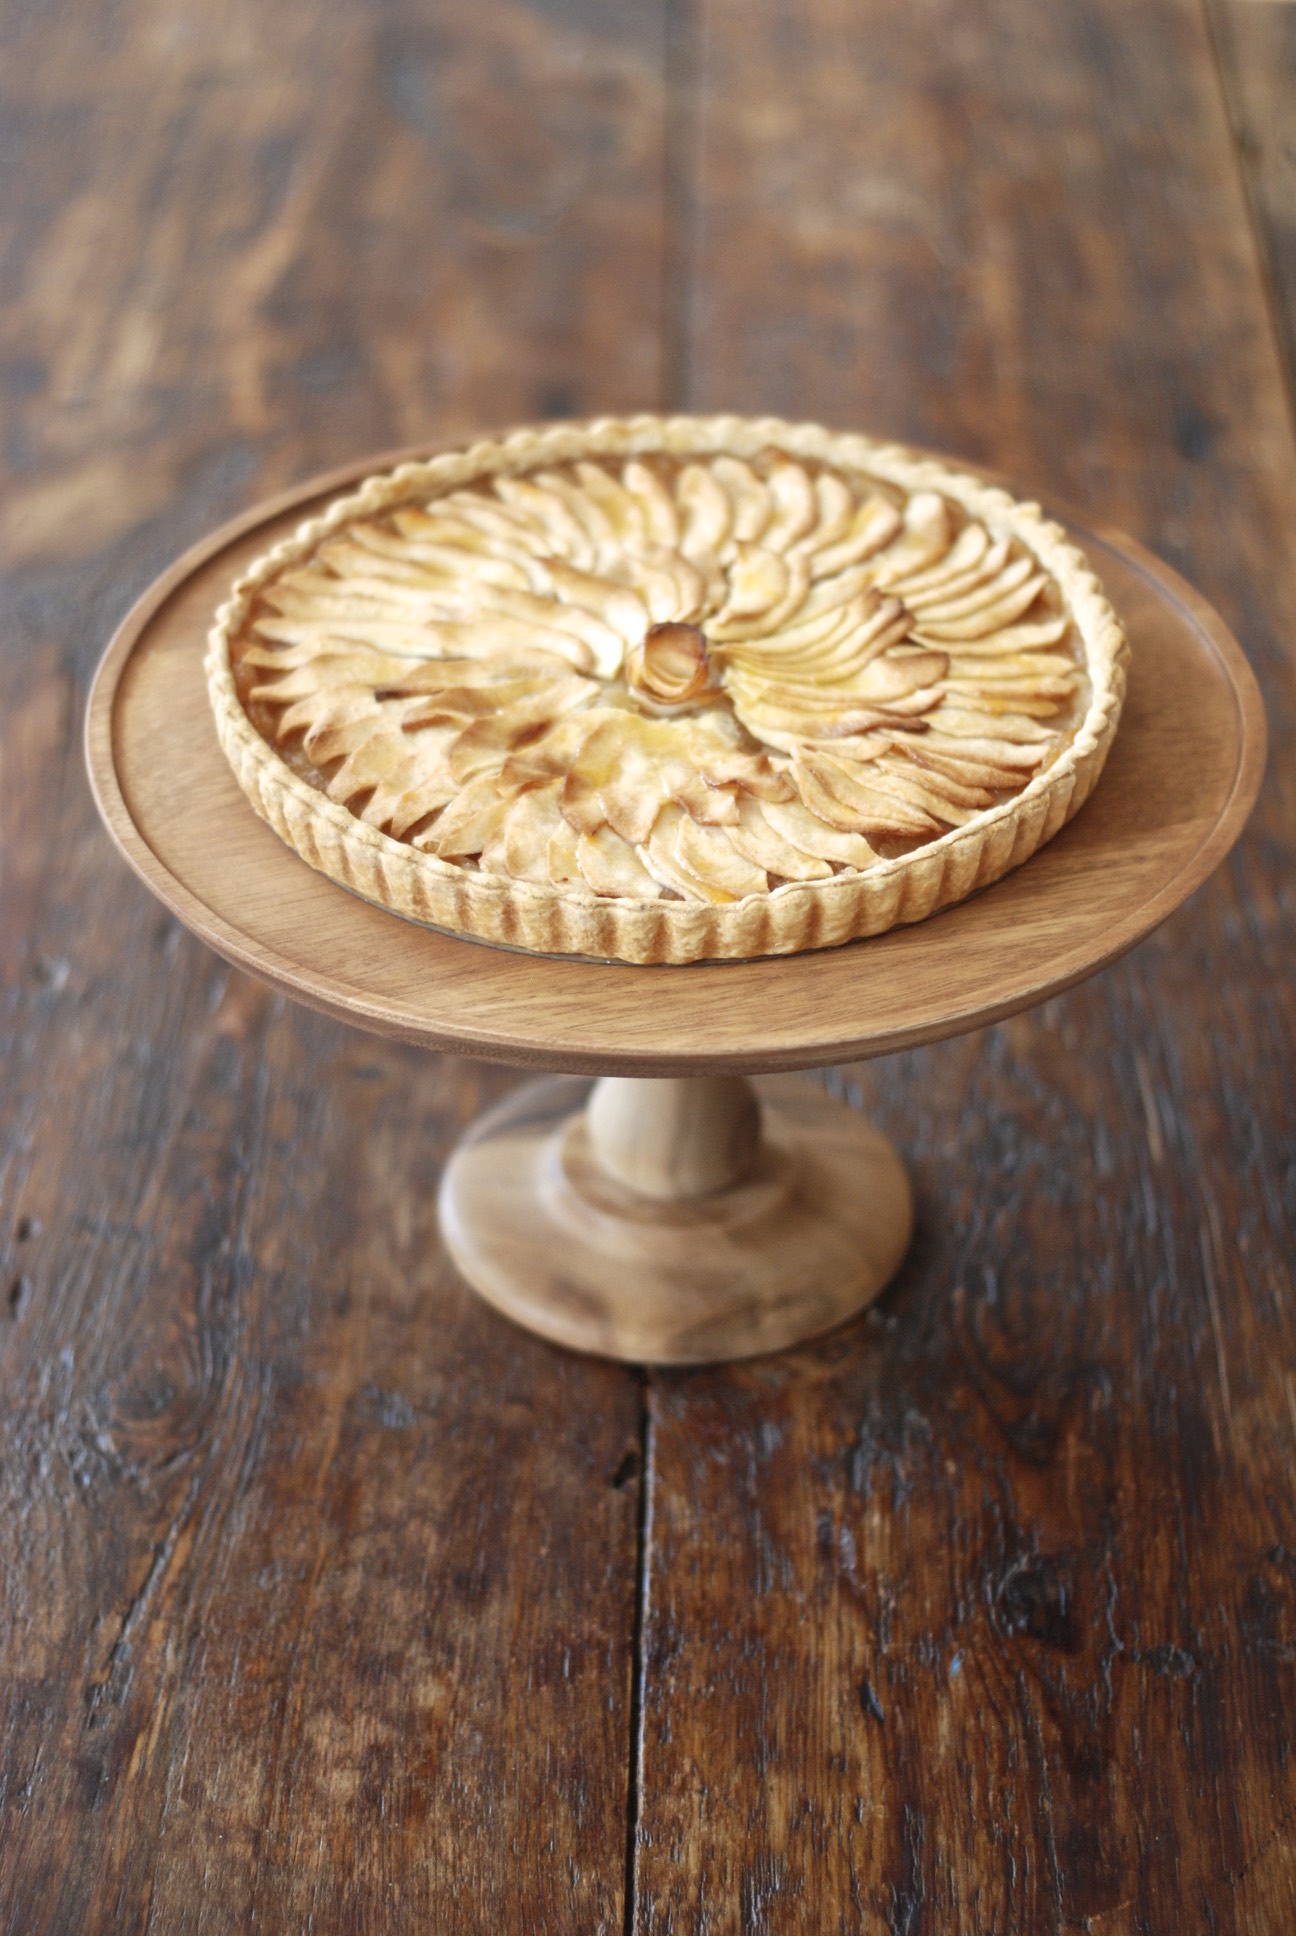
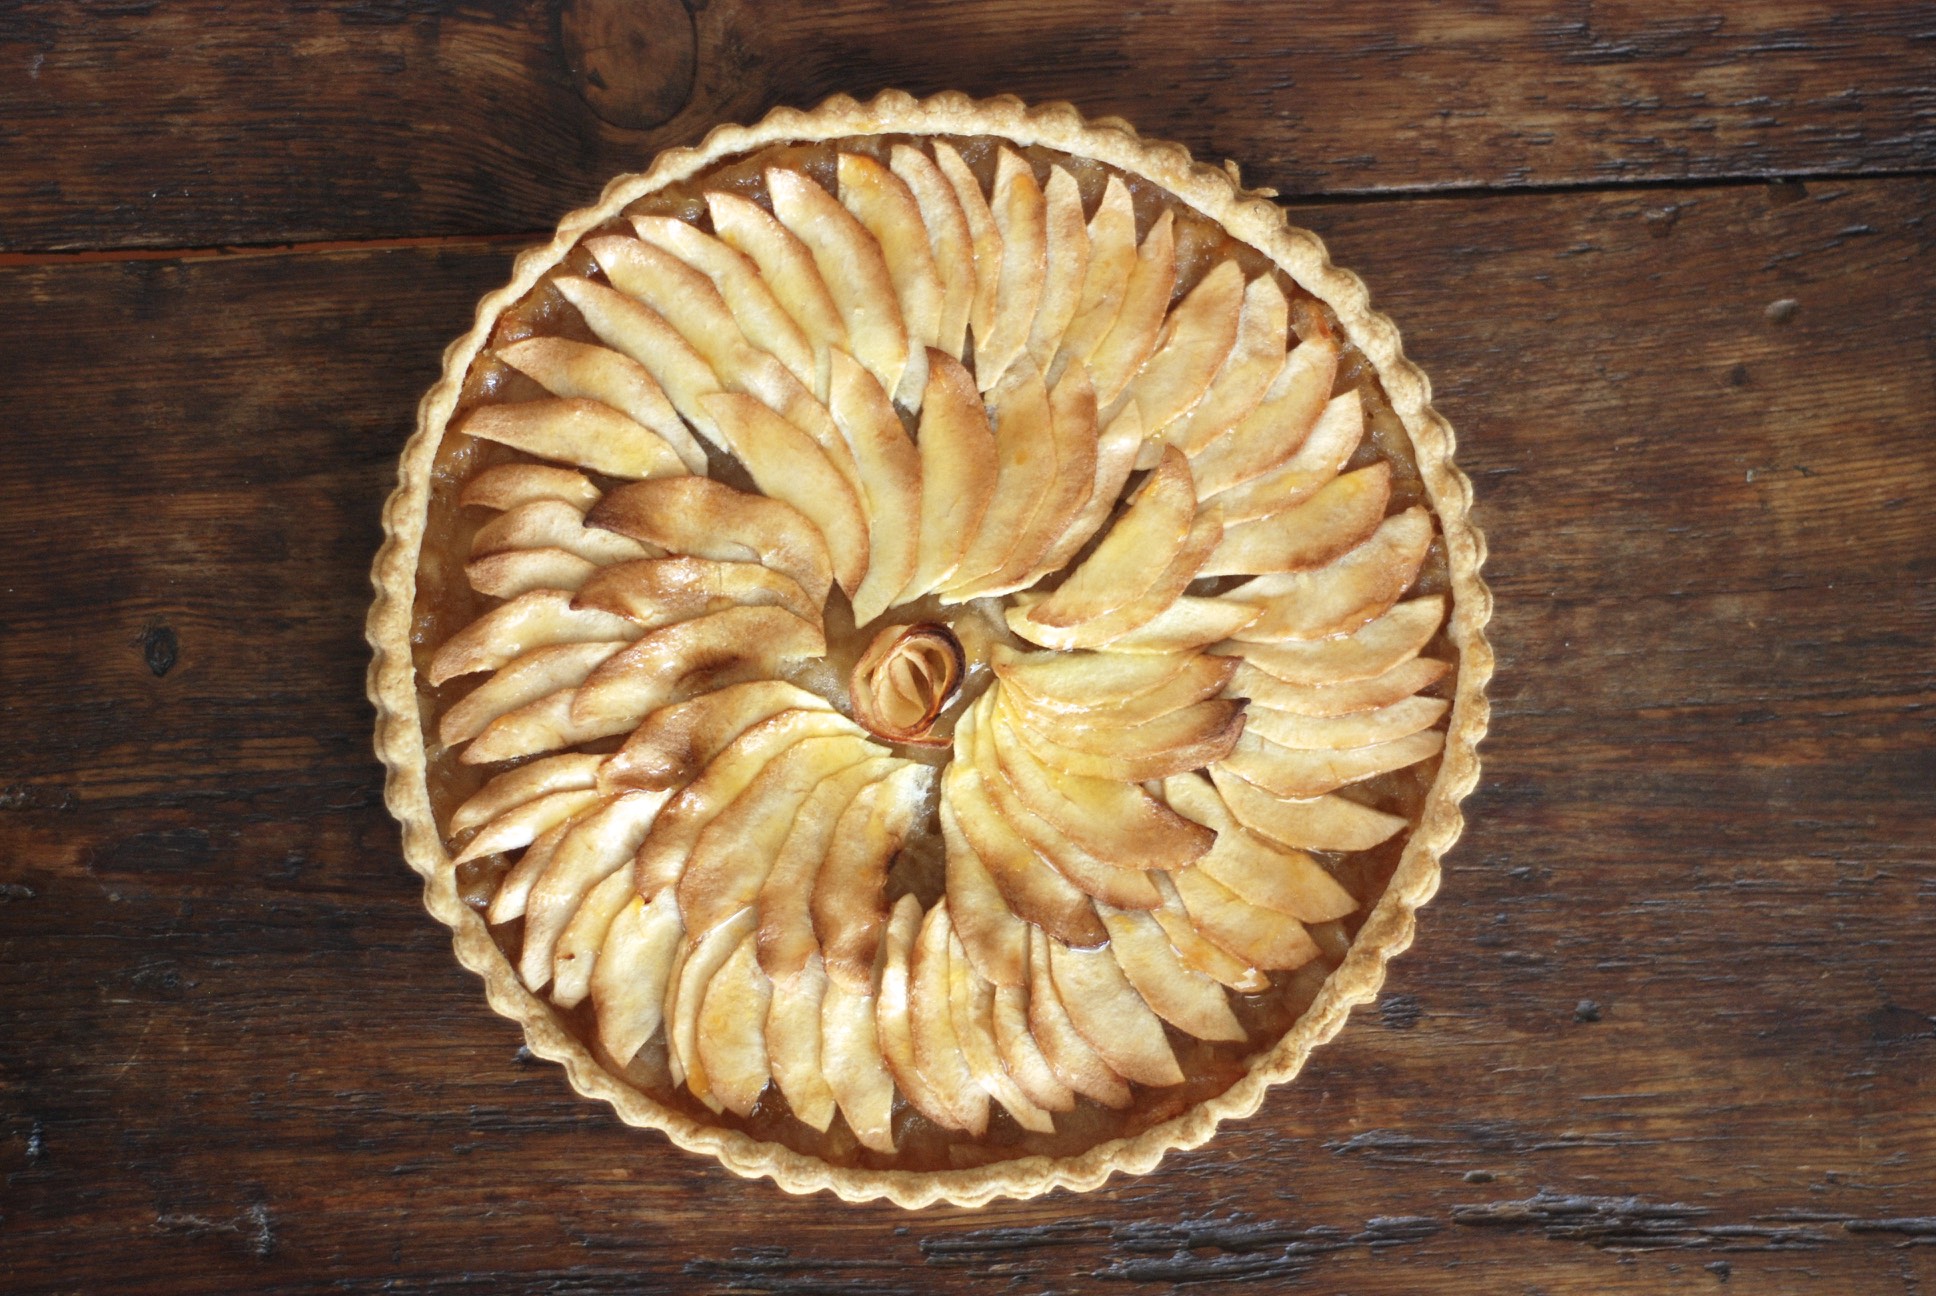
Apple Tart
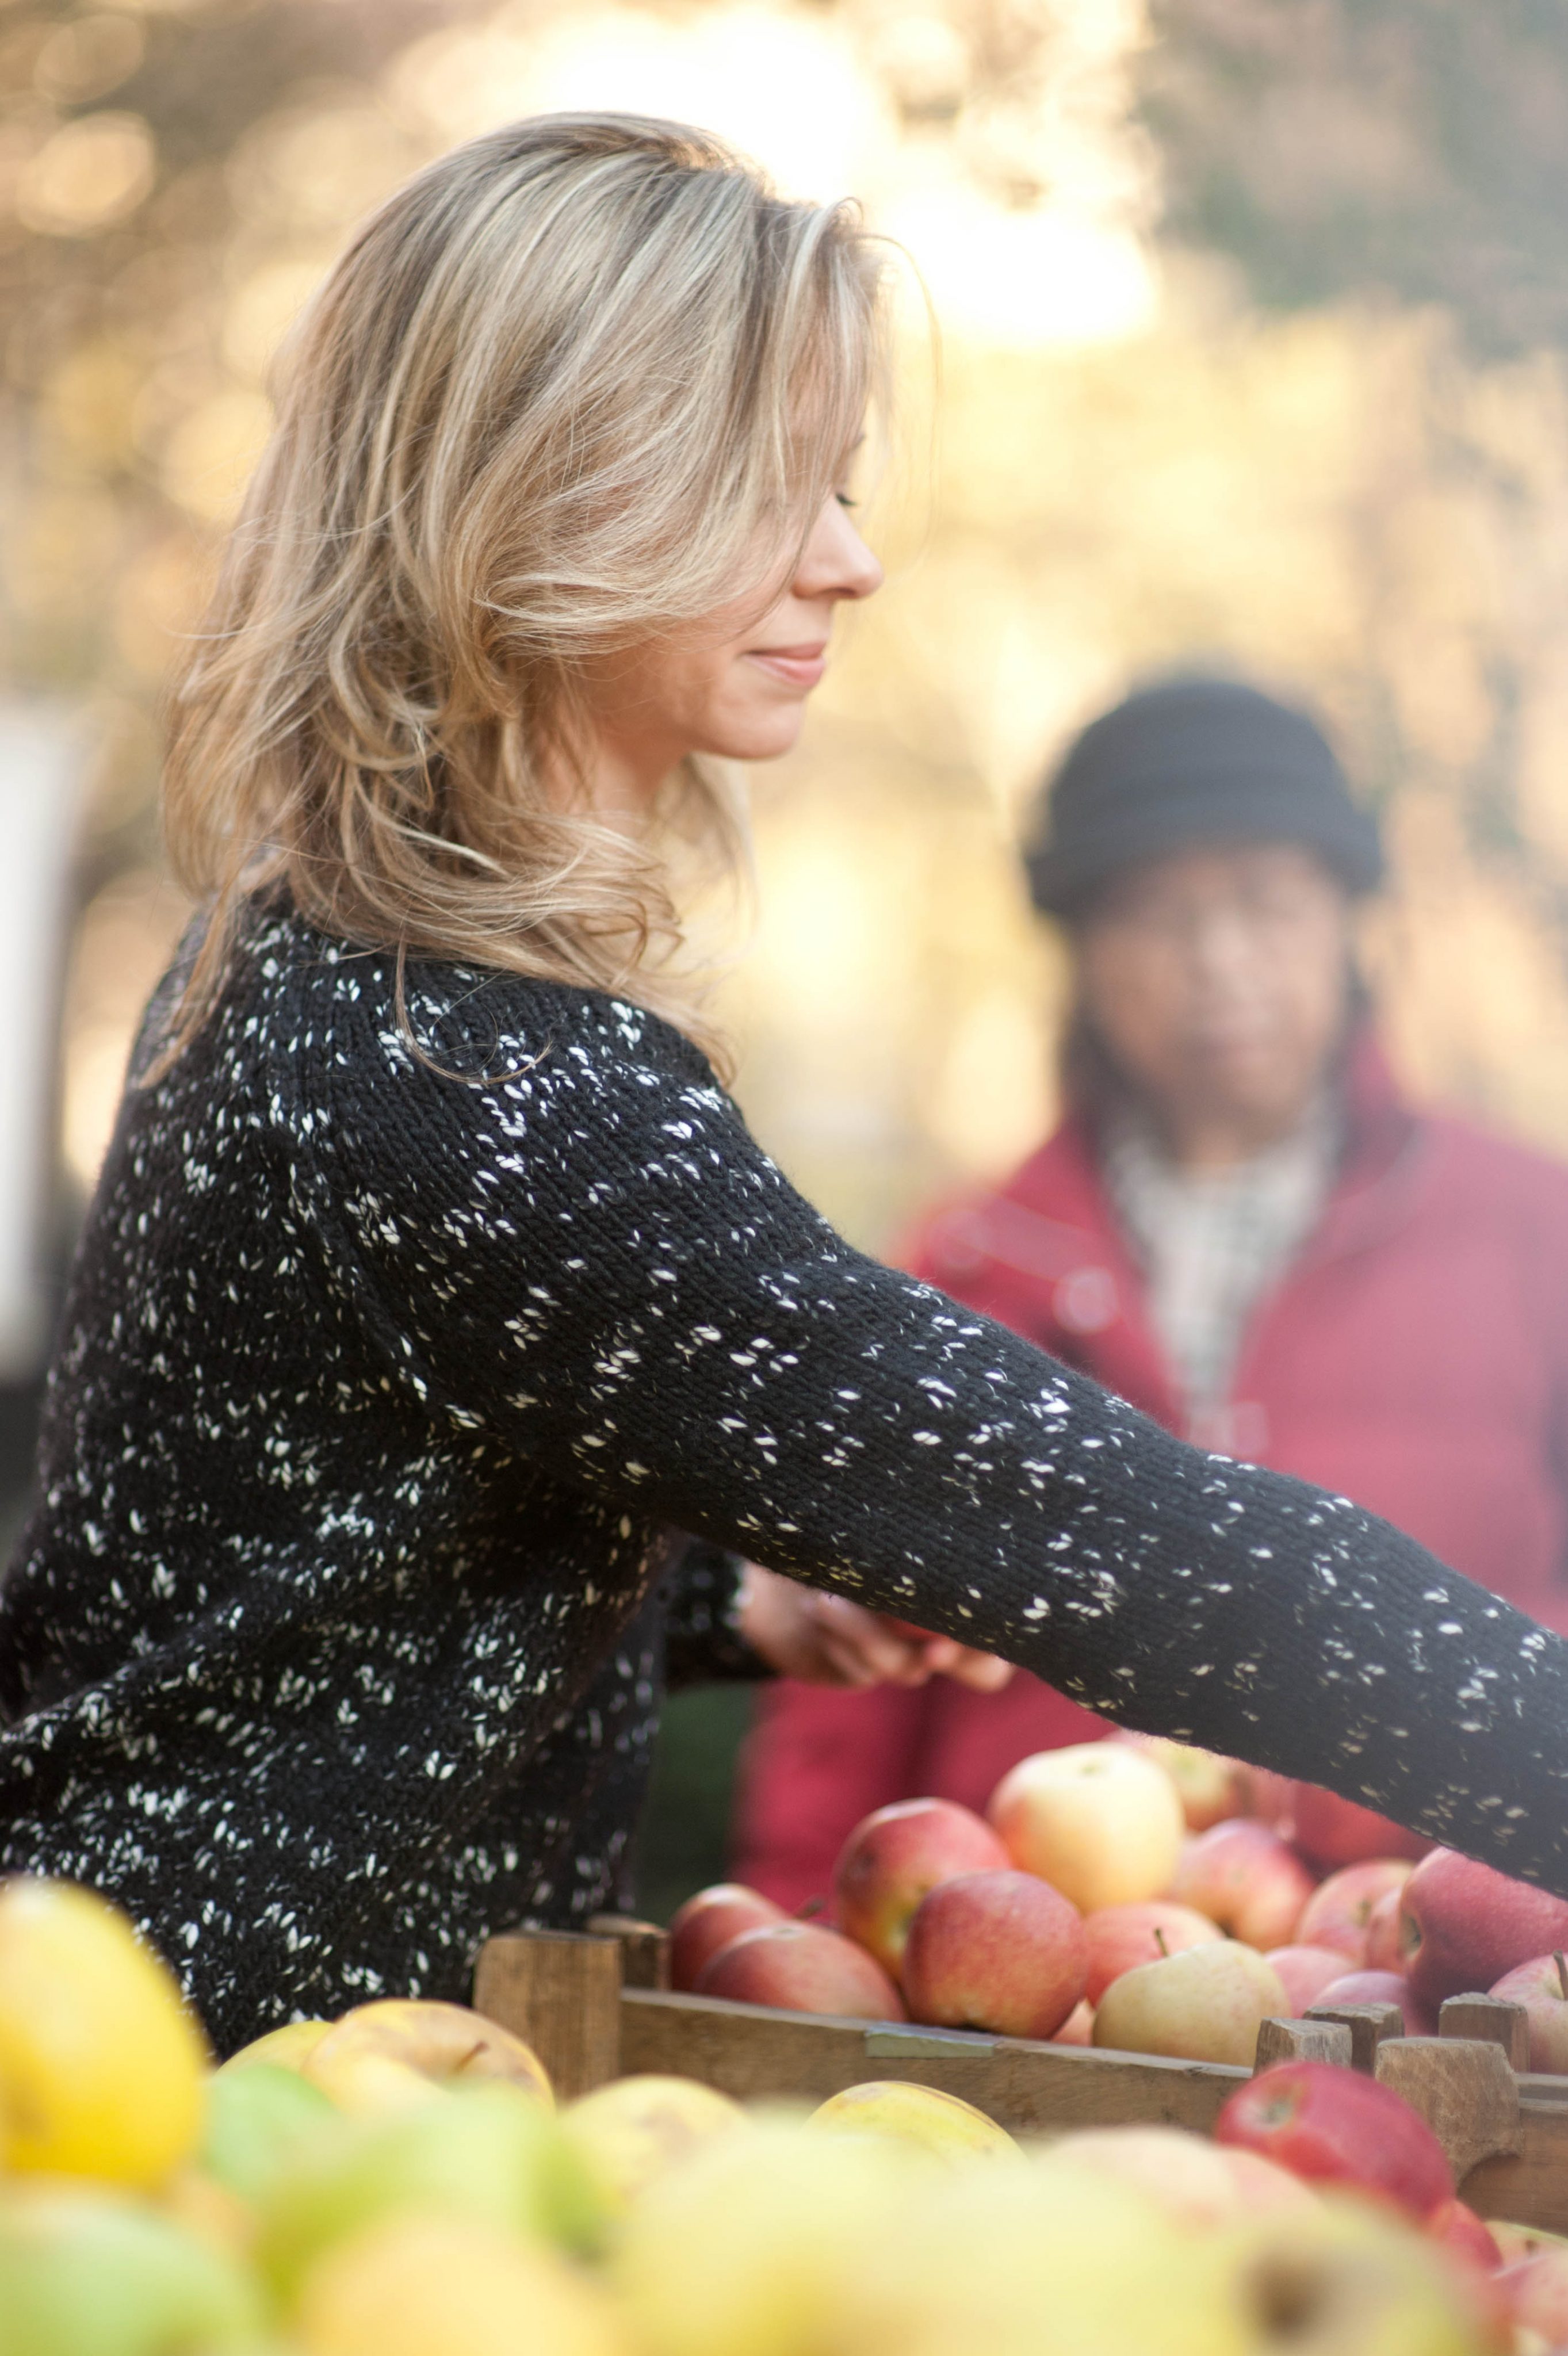
But what should I bring? I contemplated this question for a few days, waiting for inspiration to strike. And it did; it always does when I stop trying. That’s the thing about inspiration, it can come from anywhere; you just have to live with your eyes wide open. As I wandered around the Union Square Farmer’s Market (one of my favorite things to do in NYC, especially on a crisp Fall day) I couldn’t get enough of the apples, thanks in part to the kindness of the famers who offer free samples! I remembered making a beautiful apple tart at the French Culinary Institute, and just like that, the decision was made for me.
This is one of those desserts that looks like you bought it in a bakery but is pretty simple to make. You’ll love this recipe because it can be divided into stages: make the pie dough; roll it out; make the filling; decorate and bake. It’s perfect if you don’t have a lot of time but still want to enjoy the process of making something from scratch. The pie dough is my classic pastry recipe (you can watch me make it here). Like everything else, the more you practice it, the easier it gets; repetition is one of our greatest teachers. The tart is light and will balance out the heavier traditional Thanksgiving desserts like pumpkin and pecan pie.
You’ll need a 9-inch tart pan with a removable bottom. Butter and flour the pan before you begin (I just use one of the butter wrappers because it makes it easier to get in all the ridges of the pan.) This recipe calls for 7 apples. I use Gala apples but feel free to experiment!
For the crust:
2 1/2 cups all-purpose flour
2 sticks chilled unsalted butter, cubed
1 tsp salt
1 tsp sugar
1/4 – 1/2 cup of ice water
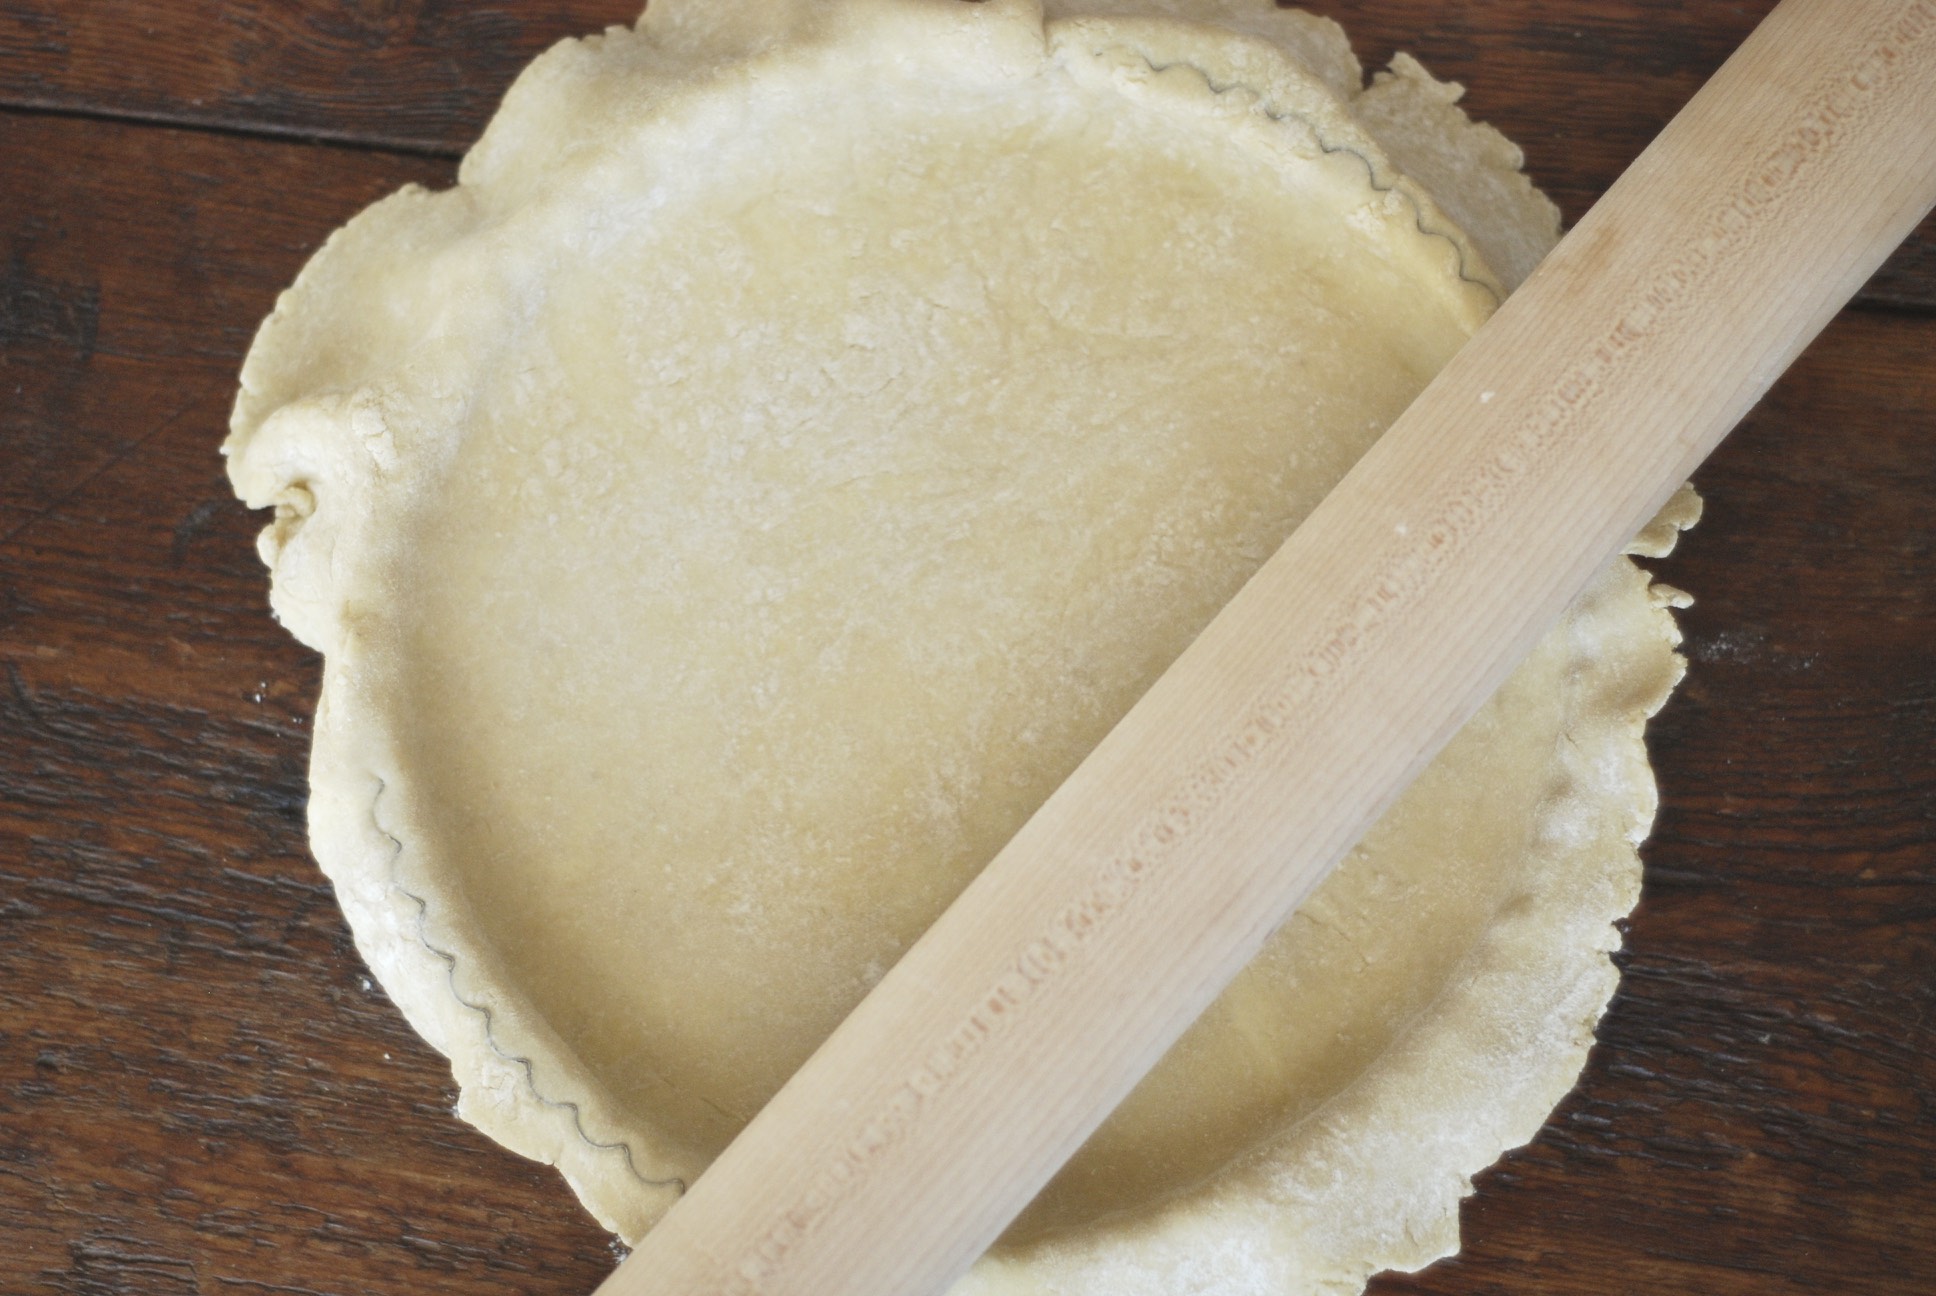
Use my classic pastry dough recipe. Refrigerate the dough for 30 minutes before rolling out. When you’re ready to go, flour your work surface and your rolling pin and roll the dough to approximately 11-inch diameter. Loosely roll the pastry onto your rolling pin and then roll it back out into your tart pan. Make sure the dough is pressed all the way into the pan and up the sides (use your hands to carefully feed the dough into the tart pan so that you don’t stretch the dough as you’re trying to fit it in.)
I love this next part. Take your rolling pin and roll the top of your tart pan; it will crimp the crust perfectly!
Cover with plastic wrap and keep in the fridge until you’re ready.
For the filling:
5 apples
3 Tbsp water
5 Tbsp sugar
Peel and cut 5 apples into 1/4-inch cubes. Throw them into a pot with 3 Tbsp of water and 5 Tbsp of sugar. Cover (this is important because it allows the apples to steam and release their juices) and cook over medium heat for 15 minutes, stirring occasionally. Remove the lid and cook for another 10 to 15 minutes until the apples are soft enough to mash with the back of a wooden spoon. The finished filling looks like a chunky apple sauce. Allow the filling to cool completely.
To assemble the tart:
2 apples
lemon
2 Tbsp unsalted butter, melted
apricot jam
Preheat your oven to 375 degrees. Remove your pie crust from the fridge. Use a wooden spoon to spread the filling evenly inside the tart shell. Peel and core the remaining 2 apples. Cut each in half. Rub the apples with lemon to prevent browning. Thinly slice the apples and arrange, overlapping, on the top of the pie in two circles (just like in yoga, work from the outside in). For the flower, slice paper thin pieces of apple and carefully curl them to fit inside the remaining circle at the center of your tart. Continue this process until the space is filled.
Use a pastry brush or the back of a spoon (or your finger!) and carefully brush the top of your tart with melted butter (2 Tbsp should suffice). Bake for 60 minutes (possibly 70, depending on your oven) until the tart is golden brown. The apple slices are going to burn in places but don’t worry about it; it’s part of the rustic charm. You can always cover the vulnerable spots with a small piece of foil if it’s starting to look too burned.
Carefully remove the tart ring and allow it to cool completely. Once it’s cool you can remove the bottom of the tart pan from your masterpiece.
Mix a heaping tablespoon of apricot jam with a splash of water and pop it into the microwave for 10-15 seconds. Stir well to create an even consistency. Use a pastry brush to carefully coat the top of your tart with the apricot glaze. Your tart will glisten and you’ll be hard-pressed to convince everyone that you didn’t buy your so-called “homemade” tart at the bakery.
Whether you’re hosting Thanksgiving or showing up as a grateful guest, this Apple Tart is the perfect Fall dessert!