I’m warning you now – this isn’t one of those “let me just whip up a dessert” desserts. This is a step-by-step, “what have I gotten myself into” kind of dessert. Do not be deterred. The finished product is nothing short of a masterpiece. One bite of this airy cheesecake and you will finally know what clouds taste like. This is Billy’s favorite dessert, which gives me an exorbitant amount of influence over our relationship. Just kidding (no, I’m not).
I’m certain Patanjali wrote sutra 1.14 after having made and eaten this cheesecake, because there is truly no better example of practice and non-attachment. You must devote yourself to each step and let go of any attachment to how it will turn out. Never mind the outcome – you have to keep your eyes on the moment. There are a few tools you’ll need before you embark on this adventure: a springform pan, a mixer of some kind, a food processor, and, as Julia would say, a “what the hell” attitude.
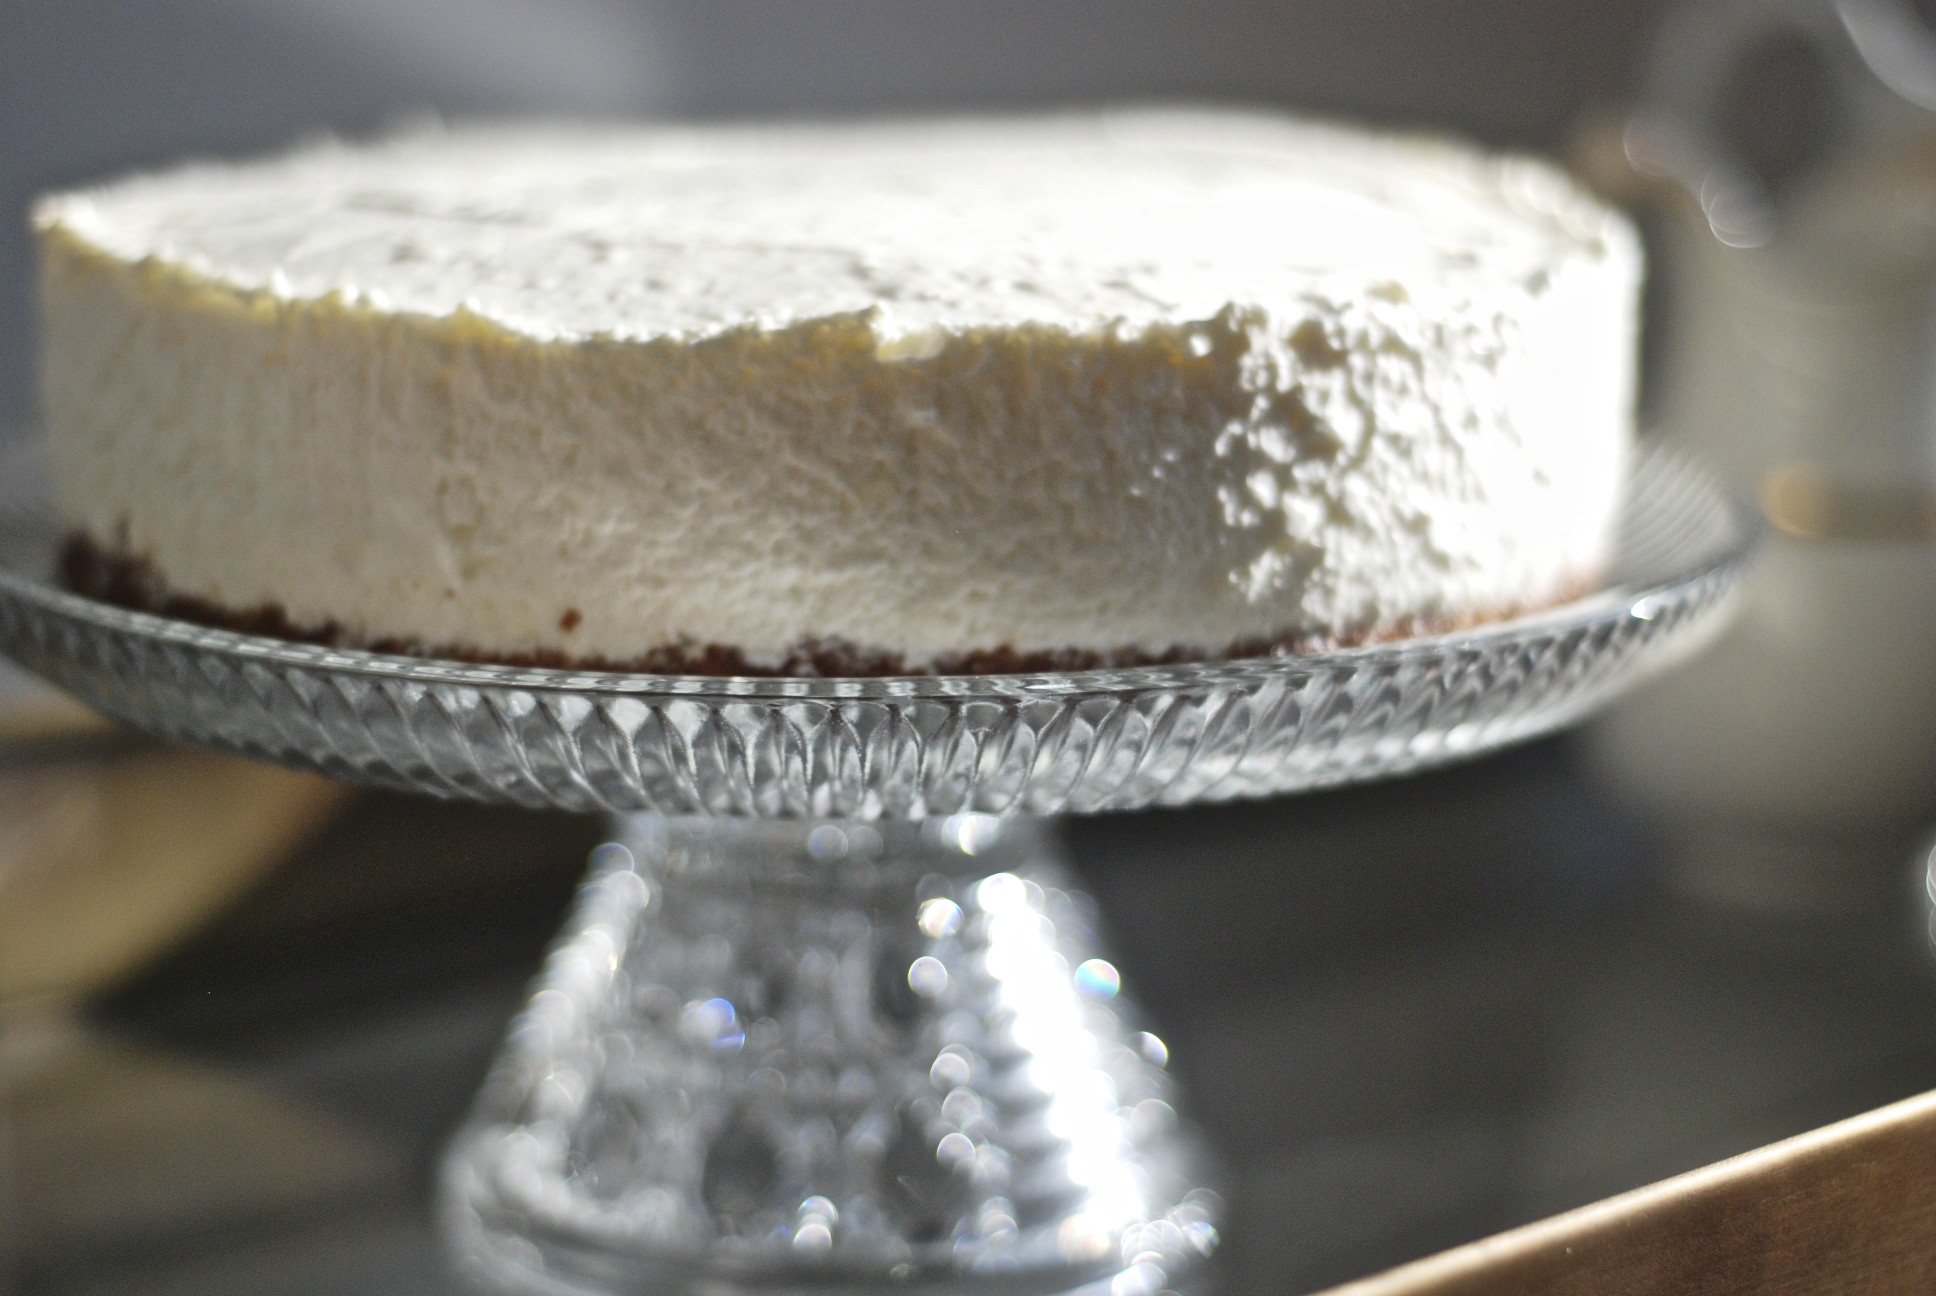
Spring Cheesecake
for the cake bottom:
1 1/2 sticks butter (room temperature)
3/4 cup sugar
2 eggs
1 tsp vanilla
3/4 cup flour
1 tsp baking powder
Preheat your oven to 375 degrees. Butter a 9″ springform pan and line the bottom with parchment paper (for an easy exit). Cream 1 1/2 sticks of room temperature butter with 3/4 cup of sugar. Add 2 eggs, one at a time, and then 1 tsp of vanilla. In a separate bowl, combine 3/4 cup of flour and 1 tsp of baking powder. Slowly add the flour mixture to the mixer. Pour into your greased springform pan and bake for 30 minutes. Let it cool for 10 minutes or so and then carefully free it from the pan. Allow to cool completely. Slice off the top with a knife so the cake is completely flat. (This recipe is supposed to make two cakes, meaning you slice the whole thing in half, leaving you with two layers—one to use now and one to freeze for next time. The bottom layer should be thin, but I like mine a little more substantial, so depending on how high your cake rises, you may just want to slice off the top and leave it as is.)
So far so good!
Filling:
2 packages of Knox Gelatin
6 T of lemon juice (approximately 2 lemons)
2 cups of LOW FAT cottage cheese (not because we’re counting calories here, but because we’re looking for a certain consistency)
2 packages of 8 ounce cream cheese
1 1/2 cups sugar
2 egg whites
2 tsp vanilla
2 cups heavy cream
First things first: don’t panic. You need to dissolve the gelatin—empty both packages into 6 T of warm water and let it “bloom” for 5 minutes. Don’t look at it while it’s blooming because you won’t see anything and it will only make you doubt what on earth you’re doing.
Meanwhile, in a food processor, whiz together the cottage cheese and the cream cheese. Add the lemon juice, 1/2 of sugar, vanilla, and your “bloomed” gelatin. Process until smooth. Transfer the mixture to a bowl and move on.
Now for the egg white mixture. Beat the egg whites and 1/2 cup of sugar with a mixer, preferably a stand mixer (or you can use a hand mixer and just think of it as a toning exercise for your arms). You need to mix the egg whites until you see medium stiff peaks. I admit that at this point I never quite know when they’ve reached medium stiffness. Suffice it to say, you’ll likely ask yourself the question “Is it done?” about five times before they’re actually done. In the end, you’ll need to tap into your faith.
It’s time to whip the heavy cream. This is usually the point where I’ve had enough of this recipe; it’s like the final few breaths of a challenging pose—you just have to surrender. Tapas, baby! Once the heavy cream is whipped, gently add 1 tsp of vanilla and 1/2 cup of sugar. Blend until combined.
Ok, so let’s recap. You have the cream cheese mixture, the “medium stiff” egg whites, and the whipped cream. To combine these three concoctions together you MUST follow my instructions implicitly. DO NOT get creative. 1) Using a spatula, fold the egg whites into the cream cheese mixture. 2) Fold the whipped cream into the cream cheese mixture.
Butter your springform pan (again) and line the circumference of the pan with cut strips of wax paper (I know, but you will thank me when it comes time to take this thing out). Place the cooled cake in the bottom of the pan. Pour the filling on top – it should come right up to the top of the pan. Smooth the top with a spatula. Refrigerate for at least four hours, or overnight. Pour yourself a drink.
This is hands-down the best cheesecake I’ve ever tasted, and I think it’s the perfect dessert to usher in the Spring. The tart, creamy flavor will transport you to heaven. This recipe will undoubtedly become part of your heavy artillery. Make sure you sneak a piece to enjoy in solitude, before the masses descend upon your masterpiece and devour your hard work. The fruits of your earnest, disciplined, and uninterrupted practice have never tasted better.
Recipe courtesy of Maja’s Kitchen.